MicroStrategy ONE
New Toolbar Element Wizard
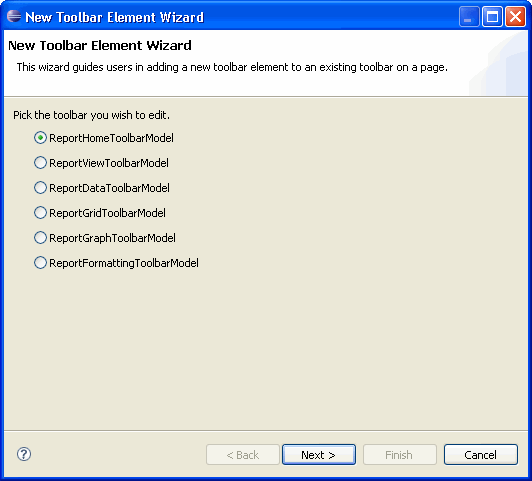
The New Toolbar Element Wizard adds a toolbar item to an existing toolbar.
You can use either of the following methods to access the wizard.
Interactivity with MicroStrategy Web is enabled
Make sure you have completed the Enabling Interactivity with MicroStrategy Web step before proceeding further.
-
Access the MicroStrategy Web page for which you wish to add custom toolbar items.
-
Right-click the toolbar to which you wish to add a toolbar item and select Add Item to this Toolbar to launch the New Toolbar Element Wizard.
You can also right-click anywhere on the page, click Toolbars and select Add Custom Toolbar Elements to launch the New Toolbar Element Wizard.
Interactivity with MicroStrategy Web is not enabled
-
Click on MicroStrategy Web Configuration inside the Application Settings view to expand the hierarchical tree. The expanded list comprises the different settings that can be modified to perform customizations.
-
Click on Pages to expand the list of MicroStrategy Web Pages.
-
Right-click on the MicroStrategy Web Page to which you want to add a toolbar item and select Toolbars->Add Custom Toolbar Elements to launch the New Toolbar Element Wizard.
Or
-
Click on MicroStrategy Web Configuration inside the Application Settings view to expand the hierarchical tree. The expanded list comprises the different settings that can be modified to perform customizations.
-
Click on Toolbars to expand the list of toolbars (HTML and DHTML).
-
Right-click the DHTML toolbar to which you want to add a new toolbar and select New Toolbar Element to launch the New Toolbar Element Wizard.
See also: