MicroStrategy ONE
Customize the Login Screen and Authentication Parameters in Android
It is possible the customize the Login screen for Android without writing code. However, there may be instances where you want additional customization. You may need to match a specific look and feel or authentication may require input parameters different than the ones provided in a non-programmatic approach. To meet these requirements, you can customize the login screen by extending the MobileLoginView class and assigning a custom subclass as the definition of the login view for the authentication prompts.
Customize Authentication from Scratch
-
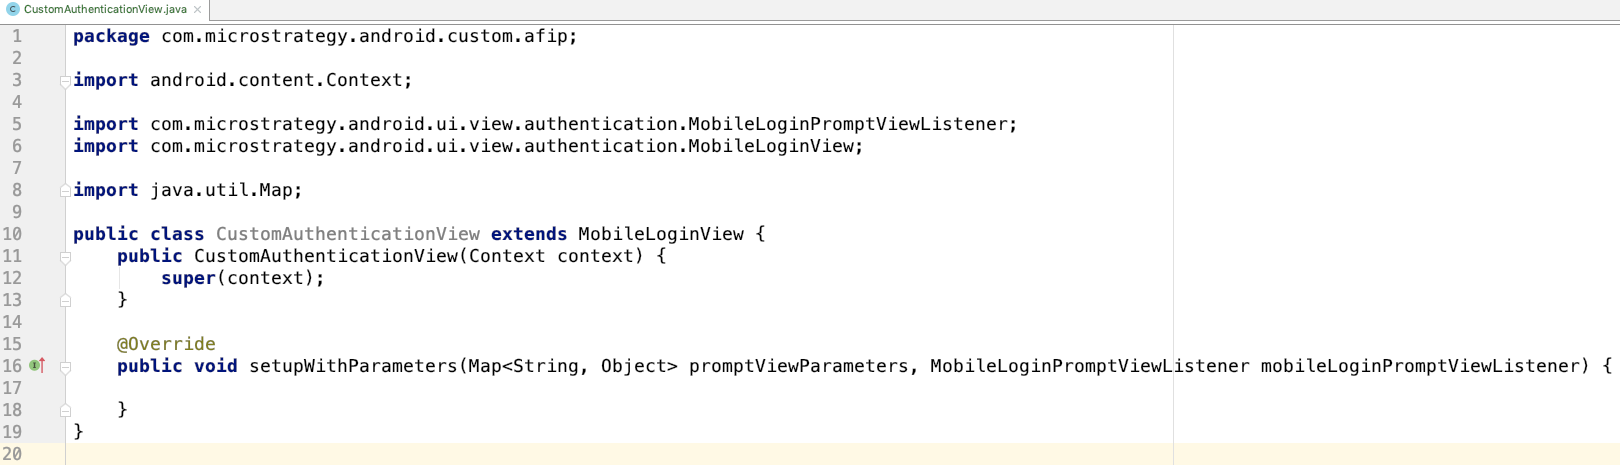
Create a new Java class that is a subclass of MobileLoginView and add it to the project.
-
Override setupWithParameters(Map<String, Object> map, MobileLoginPromptViewListener mobileLoginPromptViewListener). Use promptViewParameters to provide helpful information on the custom login screen. This can include project information, as well as label values defined in authentication_settings.json. The code snippet shown below displays a typical implementation of this method.
Copypublic void setupWithParameters(Map<String, Object> map, MobileLoginPromptViewListener mobileLoginPromptViewListener) {
// add additional code to setup the login UI, for example, add textfields, login buttons, background image
}
Reuse MicroStrategy Internal Logic to Customize Authentication
If you don't need to implement everything from scratch, you can allow your custom view to extend from CustomizableAuthenticationView, instead of MobileLoginView. Reusing MicroStrategy's internal logic is a good choice if you only need to use setupWithParameters.
-
Implement the loginPromptViewDidInputAuthenticationParameters(MobileLoginView promptView, final Map parameters) method of the view's listener. This lets the listener know that the user has input the authentication parameters. This is typically done in a method triggered by a login button. The authentication parameters are a map that must contain the username and password, as well as the list of custom parameters that are passed to the mobile login task for validation. The structure of the dictionary is defined as shown below.
Copy{“username”:<user name value as string>,“password”:<password as string>,“customparameter1”:<custom parameter 1 as string>,“custom parameter2”:<custom parameter 2 as string>,“customparametern”:<custom parameter n as string>}The following code snippet contains a login method, which is called by a login button. Only the username and password are used for authentication. The corresponding values are captured in the AuthenticationParametersView, which is a helper class. You can use it to collect all authentication parameters or implement your own method to do so.
Copy@Override
public void setupWithParameters(Map<String, Object> promptParameters, MobileLoginPromptViewListener listener) {
...
this.listener = listener;
parametersView = (AuthenticationParametersView)this.findViewById(R.id.custom_login);
initParametersView();
Button loginButton = (Button) findViewById(R.id.ok_button);
loginButton.setOnClickListener(new View.OnClickListener() {
@Override
public void onClick(View v) {
if (listener != null) {
Map<String, Object> authenticationParameters = getAuthenticationParameters();
listener.loginPromptViewDidInputAuthenticationParameters(promptView, authenticationParameters);
}
}
});
}
AuthenticationParametersView parametersView;
@Override
public Map<String,Object> getAuthenticationParameters() {
return parametersView.getAuthenticationParametersSelections();
}
private void initParametersView(){
Object[] authenticationParameters = AuthenticationSettings.authenticationParameters(authenticationSetting);
for (Object authenticationItemObject: authenticationParameters) {
if(authenticationItemObject instanceof Map) {
Map authenticationItem = (Map)authenticationItemObject;
AuthenticationParameterView authenticationParameterView = null;
switch (AuthenticationSettings.authenticationItemType(authenticationItem)){
case 0:
authenticationParameterView = new AuthenticationTextField(getContext());
addKeyboardListener((AuthenticationTextField)authenticationParameterView);
break;
case 1:
authenticationParameterView = new AuthenticationPasswordTextField(getContext());
addKeyboardListener((AuthenticationTextField)authenticationParameterView);
break;
case 2:
authenticationParameterView = new AuthenticationDropdownView(getContext());
break;
}
if (authenticationParameterView!=null){
authenticationParameterView.init(authenticationItem);
parametersView.addView(authenticationParameterView);
}
}
}
} -
Implement the loginPromptViewDidCancel method of the view's listener. This lets the listener know that the user tapped Cancel on the login screen. This is typically done in a method triggered by the Cancel button. The following code snippet illustrates a simple cancel method implementation.
Copyfinal Button cancelButton = (Button) findViewById(R.id.cancel_button);
...
cancelButton.setOnClickListener(new View.OnClickListener() {
@Override
public void onClick(View v) {
if (listener != null) {
listener.loginPromptViewDidCancel(promptView);
}
}
});
Register the Class
Register the custom login view controller class in MobileLoginManager, so it is used for the prompt type for which it was designed. You can register the class by either rewriting the .json file or registering it programatically.
The code snippet below illustrates how to register the class by modifying the authentication_customization.json file.
{
    "UserDefinedComponent": [
        {
            "PromptType": 0,
            "View":"com.microstrategy.android.custom.afip.CustomAuthenticationView",
            "Fragment":"com.microstrategy.android.ui.fragment.AuthenticationFragment",
            "Module":"com.microstrategy.android.ui.controller.authentication.module.AuthenticationModule"
        },
        {
            "PromptType": 1,
            "View":"com.microstrategy.android.ui.view.authentication.CustomizableAuthenticationView",
            "Fragment":"com.microstrategy.android.ui.fragment.ChangePasswordFragment",
            "Module":"com.microstrategy.android.ui.controller.authentication.module.ChangePasswordModule"
        }
    ]

}
The code snippet below illustrates how to register the class programmatically.
MobileLoginManager.sharedLoginManager().setUserDefinedComponents(
"com.microstrategy.android.custom.afip.CustomAuthenticationView",
"com.microstrategy.android.ui.fragment.AuthenticationFragment",
"com.microstrategy.android.ui.controller.authentication.module.AuthenticationModule",
0);
When registering the class programatically, a PromptType of 0 represents AuthenticationPromptType. A PromptType of 1 represents ChangePasswordPromptType. View/Fragment/Module provides the class name with the full package name. MobileLoginManager finds and initializes the class with reflection.